
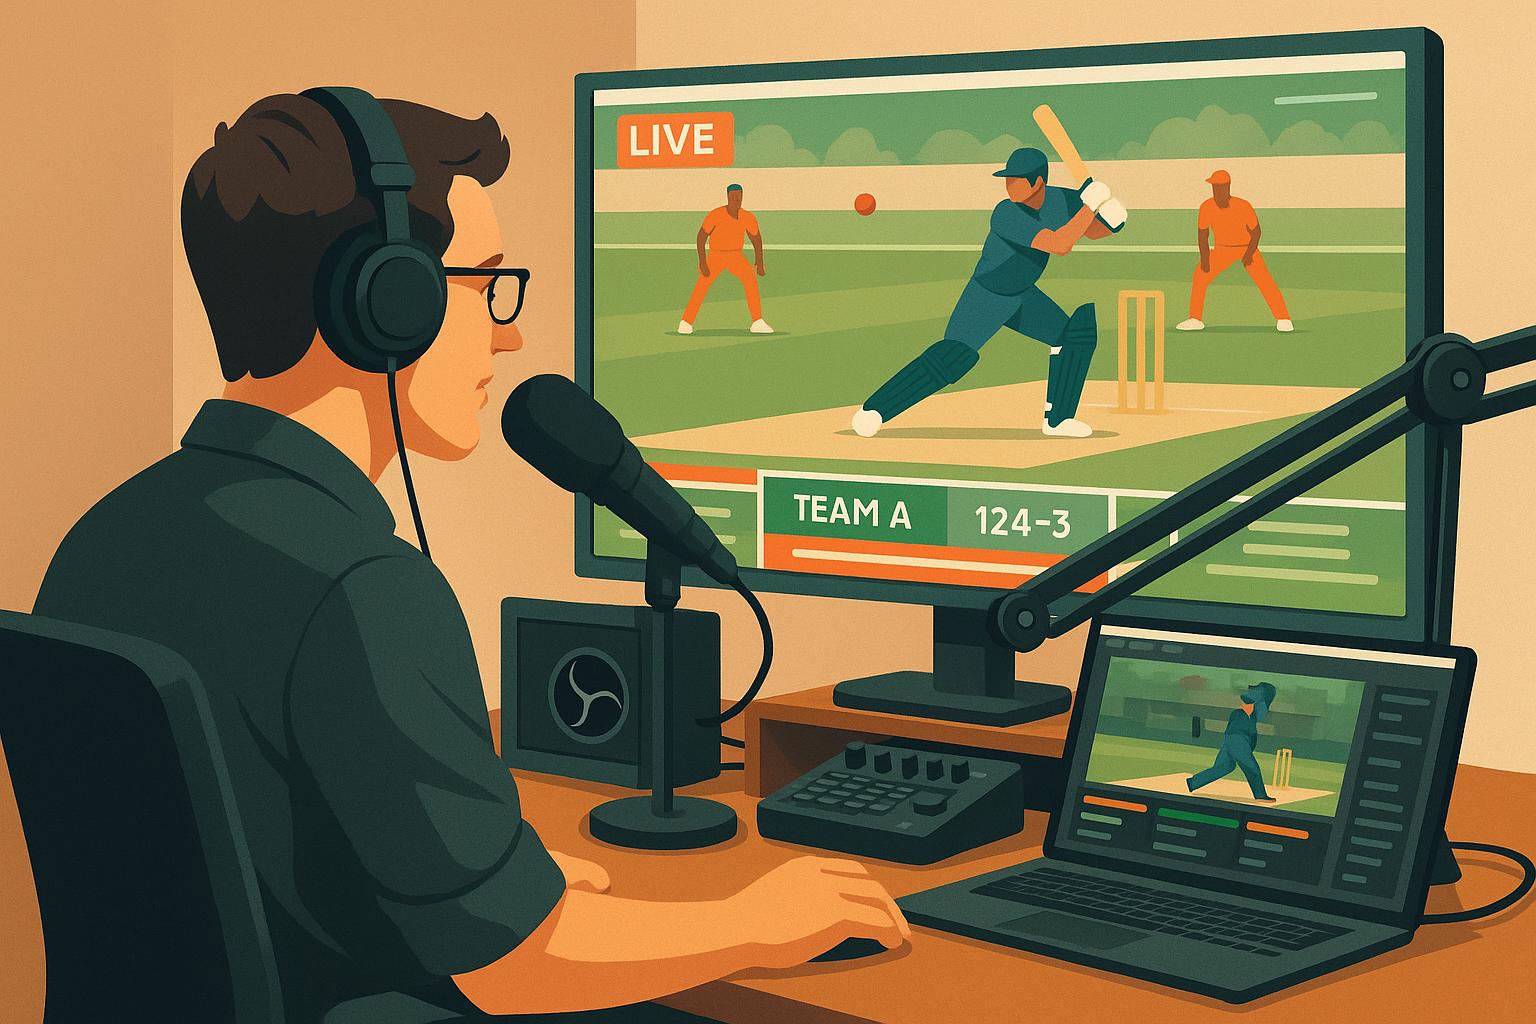
Want to level up your cricket commentary? OBS Studio is a free, open-source tool that lets you create professional-quality live streams and recordings. Whether you’re narrating local matches or analyzing international games, OBS Studio gives you the tools to broadcast like a pro.
Why Use OBS Studio for Cricket Commentary?
- Stream and record live matches with high-quality video and audio.
- Add custom overlays like scoreboards, team logos, and player stats.
- Integrate multiple sources: webcams, microphones, match footage, and more.
- Engage your audience with live chat, trivia, and interactive features.
- Stream to YouTube, Twitch, Facebook, and other platforms simultaneously.
Getting Started
- Equipment: Use a good microphone, webcam, and a stable internet connection.
- Install OBS Studio: Download it from the official site and configure settings for optimal performance.
- Audio/Video Setup: Add sources, adjust audio levels, and sync video for a polished broadcast.
Pro Tips
- Use hotkeys for quick scene transitions.
- Apply audio filters like noise suppression and compressors for clear commentary.
- Test your setup before going live to avoid technical glitches.
OBS Studio empowers cricket enthusiasts to deliver engaging, high-quality commentary. With the right setup and techniques, you can create streams that keep viewers hooked from start to finish.
How To Make Live Scoreboard For OBS | Create Cricket Picture Scorecard in OBS | Live Stream Cricket
Setting Up OBS Studio for Cricket Commentary
Getting your cricket commentary setup right from the beginning is key to avoiding headaches later. It all starts with having the right equipment, installing OBS Studio properly, and configuring your audio and video settings to achieve a professional-quality broadcast.
Equipment Checklist
Your system’s CPU and GPU requirements depend on factors like your encoder, streaming resolution, frame rate, and scene complexity. While meeting the minimum specs is essential, knowing your hardware’s limits is just as important for smooth streaming.
- Windows Users: A DirectX 10.1–compatible GPU is a must, with Windows 10 or 11 recommended.
- Mac Users: You’ll need an Intel or Apple Silicon CPU paired with an OpenGL 3.3–compatible GPU, running macOS 11 ("Big Sur") or later.
- Linux Users: An OpenGL 3.3–compatible GPU is required, along with the X Window System or Wayland.
For optimal performance, consider investing in a discrete GPU, such as Nvidia’s GTX or RTX series, which comes with an NVENC hardware encoder. If your system has only 8GB of RAM, upgrading to a higher capacity can significantly improve performance.
A reliable internet connection is non-negotiable for live streaming. Lag or interruptions during critical match moments can ruin the experience. For maximum stability, use a wired Ethernet connection instead of Wi-Fi, and test your upload speed thoroughly before going live.
Your audio setup is equally important. A quality USB microphone or audio interface will deliver much better sound than a built-in computer mic. Position the mic about 4 inches from your mouth to minimize background noise. Finally, a decent webcam is essential, though you can upgrade to professional cameras as your setup evolves.
Once you’ve gathered your equipment, it’s time to install and configure OBS Studio.
Installing and Configuring OBS Studio
Download OBS Studio directly from the official website to ensure you’re getting the latest features and security updates. The software is free, open-source, and as of version 31.0.2 (released March 2025), supports macOS 11+, Windows 10/11, and Ubuntu 20.04+.
After installation, launch OBS Studio and run the Auto-Configuration Wizard. This tool will recommend settings tailored to your system and internet connection. While it’s a great starting point, you’ll still need to tweak some settings manually for your cricket commentary.
Head to Settings > Output to adjust bitrate, encoder, and recording quality based on your hardware and your streaming platform’s requirements. To optimize performance, close unnecessary background applications and disable visual effects that consume CPU resources. This ensures OBS Studio has enough system power to run smoothly.
Before going live, conduct practice sessions to test your setup and monitor system performance. This helps you catch and resolve issues early.
Setting Up Audio and Video Sources
Once OBS Studio is configured, the next step is to integrate your audio and video sources for a seamless commentary experience.
To add your webcam, go to the Sources section at the bottom of OBS Studio, click the "+" icon, and select Video Capture Device. Give this source a descriptive name like "Commentary Cam" to keep things organized. Then, select your webcam from the dropdown menu and adjust its resolution and frame rate settings.
For audio, even if your webcam has a built-in mic, it’s better to use a dedicated microphone. Navigate to Settings > Audio to add your mic as an audio source. For external microphones or audio interfaces, go to Audio Mixer > Mic/Aux > Settings > Properties and select your device.
If you’re using an audio interface, enable the mono setting in Advanced Audio Properties to ensure sound plays through both sides of your headphones or speakers. Add audio from your interface by choosing Audio Input Capture from the Sources menu. Keep in mind that OBS Studio supports audio from only the first two inputs when using ASIO drivers.
To ensure professional-quality commentary, set your microphone gain so your voice peaks around –10 dB on the OBS audio mixer. Apply audio filters like noise gates to cut out background sounds during quiet moments, noise suppression to handle ambient noise, and compressors to balance volume levels. Equalizers can also be used to fine-tune the tone of your voice.
If you notice audio and video falling out of sync, use the Sync Offset option in Advanced Audio Properties to align them. Adjust the value in milliseconds until the lip-sync is perfect.
Test each source individually to make sure everything works as expected before combining them into complete scenes for your cricket commentary setup. This step-by-step approach ensures a smooth and professional broadcast.
Customizing OBS Studio for Cricket Commentary
Once you’ve set up your sources in OBS Studio, it’s time to elevate your stream by customizing it for a professional cricket commentary experience. By incorporating tailored scenes, cricket-specific overlays, and interactive elements, you can transform your broadcast into an engaging and polished production.
Creating and Managing Scenes
Scenes in OBS Studio are like blueprints for your broadcast, organizing all the visual elements you want to display during your stream. Each scene can include a mix of sources, such as your webcam, match footage, overlays, and graphics.
For a cricket commentary setup, consider creating four key scenes:
- Pre-Match Scene: Include your webcam feed, team logos, and a countdown timer to build excitement before the game starts.
- Live Commentary Scene: Combine your webcam with the match video, a live scoreboard overlay, and other relevant graphics to provide a dynamic viewing experience.
- Analysis Scene: Focus on your webcam while leaving space for replays, statistical graphics, or match highlights.
- Break Scene: Showcase your branding, social media handles, or a live chat feed to keep viewers engaged during pauses.
To create a new scene, click the "+" button in the Scenes panel at the bottom left of OBS Studio and give it a descriptive name (e.g., "Live Commentary – Main"). If you want to save time, you can duplicate an existing scene and tweak it as needed. Smooth transitions between scenes – like Fade, Cut, or Slide – can make your broadcast look more professional. These can be set up in the "Scene Transitions" section of the interface. For quick switching during live streams, assign hotkeys (e.g., F1 through F4) under Settings > Hotkeys.
Once your scenes are ready, you can take them to the next level by adding overlays and interactive graphics.
Adding Overlays and Graphics
Overlays are a must for cricket commentary, as they enhance the visual appeal of your stream while delivering key match information. Tools like StreamElements or Canva can help you design both static and animated overlays that integrate seamlessly with OBS Studio.
One essential overlay for cricket is a live scoreboard. For example, in January 2024, Rakibswn shared a cricket scoreboard overlay on the OBS Forums using the Telescore plugin. This overlay includes player names and photos, team stats, total runs, extras, partnerships, over-by-over runs, and even required run rates (OBS Forums). To add such an overlay, create a Browser Source in your scene and paste the overlay URL. For HD streams, set the dimensions to 1,920 x 1,080, or adjust them based on your resolution.
Team logos and player graphics can add a polished touch to your stream. Make sure logos are positioned so they don’t block important visuals or your webcam feed. Lower-third graphics can be used to display player stats, key match updates, or team information. Animated overlays, like those for wickets, boundaries, or milestones, can keep the energy high. To maintain a cohesive look, use consistent colors, fonts, and styles across all your graphics.
With these visual enhancements in place, you can now focus on keeping your audience engaged.
Improving Viewer Engagement
Keeping your viewers engaged is key to a successful stream. Adding interactive elements to your broadcast can increase viewer retention by up to 70%. A great starting point is live chat integration. By displaying your platform’s chat as a Browser Source overlay, you create an interactive space for viewers, especially during breaks or slower parts of the game.
Other interactive features can include quiz overlays that challenge viewers on cricket trivia – like player stats, team history, or match predictions. Giveaways are another way to boost participation, with studies showing they can increase engagement by as much as 80%. Countdown timers are also effective, helping viewers stay informed about overs, breaks, or upcoming segments.
For something simpler, consider interactive games like word-guessing challenges based on cricket terms or player names. These can encourage participation without requiring complex setups or heavy moderation.
It’s worth noting that up to 60% of viewers may leave within the first 15 minutes of a stream. To counter this, start your broadcast early with engaging pre-match content, such as team rosters or analysis, to hook your audience and give them time to settle in before the game begins.
Live Commentary Techniques and Stream Optimization
Now that you’ve set up your optimized broadcast and customized overlays, it’s time to focus on delivering captivating cricket commentary while ensuring technical smoothness. Even with the best visuals, poor audio or lagging frames can quickly drive viewers away.
Engaging Your Audience
The best commentators do more than narrate – they educate, entertain, and connect with their audience. Offer insights that casual viewers might miss, like explaining the strategy behind a field placement, analyzing a player’s recent form, or sharing stats that deepen the viewer’s understanding of the game.
Make your commentary interactive by addressing viewers directly. Use natural breaks, such as the time between overs or during drinks breaks, to answer questions from the chat or dive deeper into analysis and predictions. This not only keeps viewers engaged but also fosters a sense of community.
Storytelling is another way to elevate your commentary. Instead of saying, "Smith is batting well", compare his current performance to past games or share an anecdote about his cricketing journey. Adding tidbits about team rivalries or historical moments can turn an ordinary match into a memorable experience.
Anticipation also plays a big role. Before each ball, share what you think the bowler might attempt or what the batsman’s strategy could be. Whether your prediction is spot-on or not, it sparks discussion and keeps viewers mentally tuned in.
Once you’ve mastered audience engagement, it’s time to ensure your stream runs smoothly with optimized technical settings.
Optimizing Streaming Settings
A seamless viewing experience is critical. In fact, 67% of live stream viewers rank video quality as the most important factor. That means fine-tuning your OBS settings is non-negotiable.
For US audiences, 1080p at 30fps strikes the right balance between quality and accessibility, especially for cricket, where higher frame rates aren’t essential. Your video bitrate should range between 4,500–9,000 Kbps for 1080p streaming. If you’re unsure about your internet speed, start at the lower end and ensure your upload speed is at least double your chosen bitrate to avoid buffering. For clear commentary, set your audio bitrate around 160 Kbps.
Here’s a quick reference table for optimal streaming settings:
| Resolution | Video Bitrate (Kbps) | Frame Rate (FPS) | Audio Bitrate (Kbps) | Encoder | H.264 Profile |
|---|---|---|---|---|---|
| 720p | 2,500 – 5,000 | 30 | 160 – 320 | x264 or NVENC | High |
| 1080p | 4,500 – 9,000 | 30 | 160 – 320 | x264 or NVENC | High |
| 1440p | 8,000 – 16,000 | 60 | 320 | NVENC or x264 | High |
Choosing the right encoder is key. If your system has a compatible Nvidia graphics card, go with NVENC – it delivers excellent quality without overloading your CPU. Otherwise, stick with x264. To maintain performance during long matches, set your CPU Usage Preset to "Very Fast".
Since commentary relies heavily on audio, prioritize sound quality. Use an audio filter sequence: Noise Gate → Compressor → Gain → Limiter. This setup eliminates background noise, balances volume levels, boosts where necessary, and prevents distortion during loud moments.
Using Hotkeys and Transitions
Once your stream quality is sorted, efficient controls can help you maintain a polished broadcast. Smooth transitions and quick scene changes are hallmarks of a professional setup.
Assign hotkeys to your primary scenes – for instance, F1-F4 can be used for pre-match, live commentary, analysis, and breaks. Use an accessible key like Spacebar to toggle between your last two scenes.
Set visibility hotkeys for overlays like scoreboards, lower-thirds, or team logos. This allows you to declutter the screen when showing detailed stats or analysis.
For hands-free control, consider VoiceAttack software. This tool lets you use voice commands like “show scoreboard” or “switch to analysis” to manage OBS without breaking your commentary flow.
Finally, experiment with transitions to match the pace of the game. Smooth fades add a professional touch, while quick cuts work well during fast-paced action. Avoid flashy transitions that might distract from the match itself.
sbb-itb-3e44755
Troubleshooting and Best Practices
Even with a well-thought-out setup, live cricket commentary streams can sometimes run into technical hiccups. Being prepared to quickly identify and resolve these problems is key to keeping your broadcast seamless and engaging, especially during critical match moments. Here are some common issues and practical solutions to keep things running smoothly.
Common Issues and Fixes
Dropped frames are one of the most frequent challenges. If your stream starts lagging or viewers report choppy video, the culprit is often an unstable internet connection or improper bitrate settings. To address this, reduce your bitrate, switch Rate Control to CBR (Constant Bitrate), lower the resolution to 1280×720, and set the frame rate to 30 or 24 fps. If the problem persists, consider switching to a more reliable internet source.
Audio and video sync issues can disrupt the flow of your commentary, where timing is crucial. These often stem from external cameras with image stabilization or low-quality capture cards. Start by disabling image stabilization and adjusting the sync offset in OBS under Advanced Audio Properties. For ongoing issues, upgrading to a better capture card can offer a long-term fix.
The "Encoding Overloaded" error pops up when your system struggles to handle the streaming load. To resolve this, close unnecessary programs running in the background. In OBS, switch the Output Mode to Advanced, enable the Hardware Encoder if available, set the CPU Usage Preset to "superfast", use the Tune option set to zerolatency, and lower the output resolution to 1280×720 with an FPS of 30 or 24. Additionally, change the Downscale Filter to Bilinear.
OBS crashes during live streams can be a nightmare. To troubleshoot, update or remove outdated plugins, run OBS as an administrator, and use the Auto-configuration Wizard to optimize settings. Restart OBS fully after making changes. If crashes continue, try disabling security software or VPNs temporarily and ensure your network drivers are up to date.
When your camera fails to display an image, double-check that the correct scene and video source are active in OBS. Verify that the source is properly placed within the frame. If the issue persists, restart your modem and router to rule out network-related problems.
For better network performance, enable TCP pacing (Windows only), set "Bind to IP" to Default, configure the IP Family to IPv4 Only, and activate Dynamic Bitrate Adjustment. These tweaks help stabilize your stream, especially during lengthy matches.
Backup and Recording Tips
Once you’ve tackled live stream issues, it’s smart to secure your work with reliable backup and recording methods. Recording your sessions not only acts as a safeguard but also provides content for future use. Configure OBS to record separately from your stream to ensure recording quality isn’t impacted by streaming interruptions. Go to Settings > Output > Recording, and avoid using the "same as stream" or "Use stream encoder" options.
"Your internet speed must be at least double your OBS bitrate to produce a high-quality stream. Otherwise, you’ll run into buffering issues." – Max Wilbert, Passionate Writer, Live Streaming Practitioner, Dacast
Choose MKV or FLV formats for recording instead of MP4. These formats offer better file protection and can be converted to MP4 for editing later. Set a custom recording path in OBS to save files to your preferred location – by default, OBS saves recordings in the Video folder under Documents.
For optimal recording settings, maximize the Base and Output Resolutions (e.g., 1920×1080 for 1080p), use Lanczos for the Downscale Filter, set the Process Priority to Above Normal, and select Direct3D 11 as your Renderer. To improve audio quality, increase the bitrate to 320 Kbps for all tracks and match the Sample Rate to your microphone’s specifications, or default to 44.1 kHz for standard setups.
Finally, always have a backup internet source on hand, like a secondary ISP connection or a cellular hotspot. Test your internet speed before each stream and run rehearsals to catch potential connectivity issues early.
Conclusion
OBS Studio transforms cricket commentary by seamlessly combining multiple audio and video sources in real time, making it a versatile tool for broadcasters at all levels – whether you’re streaming a neighborhood match or providing expert analysis of global tournaments. With its ability to create custom scenes packed with scoreboards and stats, it ensures that your audience stays both informed and entertained [36,37].
Its compatibility with platforms like YouTube, Twitch, and Facebook Live allows you to reach millions of cricket fans worldwide. Features such as instant replays, smooth transitions, and customizable hotkeys add a professional touch to your broadcasts, ensuring a polished and engaging viewer experience. From setup to going live, OBS Studio simplifies the process while delivering top-tier results.
But great commentary goes beyond technology. At its core, it’s about understanding the game deeply and telling its story in a way that captivates the audience. The best commentary reveals the psychological and strategic layers of cricket, turning every moment into something memorable. With practice and a blend of technical skills and cricket knowledge, you can elevate your broadcasts to new heights.
This guide has aimed to bridge the gap between cutting-edge technology and effective commentary techniques. If you’re looking to further refine your skills, check out the resources available on Cricketeer. Whether you’re sharpening your analysis or perfecting your storytelling, you’ll find tools to enrich your broadcasts and deepen your connection to the game.
FAQs
What equipment do I need to use OBS Studio for live cricket commentary?
Setting Up OBS Studio for Live Cricket Commentary
To get started with OBS Studio for live cricket commentary, you’ll need a few essential tools to ensure your streaming setup is both reliable and professional. Here’s what to have on hand:
- A dependable Windows or Mac computer that can handle OBS Studio without lag.
- A high-quality microphone to deliver clear and crisp commentary audio.
- Headphones to monitor your sound and avoid any disruptive feedback.
- An audio interface to connect your microphone and enhance the overall audio quality.
- A camera or webcam if you plan to include video of yourself during the broadcast.
- A stable internet connection to ensure a smooth and uninterrupted streaming experience.
While not mandatory, optional extras like proper lighting, additional monitors, or even a mixer can elevate your setup further. However, it’s better to focus on quality over quantity to create an engaging and seamless cricket commentary experience.
How do I add live chat and interactive features like trivia to my OBS Studio cricket commentary stream?
To add live chat to your OBS Studio cricket commentary stream, start by grabbing the chat URL from your platform (such as Twitch or YouTube). Then, in OBS, add it as a browser source. This will seamlessly display the chat on your stream, keeping your audience engaged and part of the action.
For interactive elements like trivia, consider using third-party tools or plugins that support custom widgets or HTML overlays. Once you’ve set them up, embed them in OBS as browser sources to enhance your stream’s interactivity. Many of these tools come with clear, step-by-step guides to help you get everything up and running smoothly.
How can I keep audio and video perfectly in sync during live cricket commentary with OBS Studio?
To keep audio and video perfectly aligned in OBS Studio during live cricket commentary, start by tweaking the ‘Sync Offset’ in the advanced audio properties. This setting allows you to match the audio timing with the video feed for smooth synchronization.
Using virtual audio devices can also help by ensuring both audio and video operate on synchronized clocks, reducing the risk of timing mismatches. It’s best to avoid routing audio and video through separate sources or protocols, as this can create noticeable delays.
Keep an eye on your stream and make real-time adjustments as necessary using OBS Studio’s built-in tools or compatible external software. Following these steps ensures a professional and seamless broadcast for your audience.